By Dr. Samira El Refai | The Digitalista
Introduction
We’ve all had that Tuesday afternoon. You’ve just finished a complex preparation, and now comes the part everyone dreads: the chairside temporary. You’re mixing bis-acryl, fighting with a putty matrix, and praying the margins are “close enough.”
Thirty minutes later, you’re still grinding away at the occlusion while your patient’s jaw gets tired and your next appointment is already waiting in the lobby.
In the world of high-end cosmetic dentistry, the provisional restoration is often treated as a “placeholder.” But at The Digitalista, we see it differently. The provisional is your most powerful risk-management tool. It’s the clinical interface that determines the success of your final ceramic.
If the temporary stage is a source of stress, it’s time to shift the narrative. Digital provisional design isn’t just about speed; it’s about moving from “hopeful” to “predictable.”
Why Your Provisionals Matter More Than You Think
A great provisional does more than just cover a prep. It’s a blueprint for the future.
1. The Ultimate “Yes”
The provisional is the first time your patient sees their new smile in their own mouth. When it fits perfectly and looks natural, their confidence in you—and the final treatment plan—is cemented. This is where case acceptance truly happens.
2. Healing with Intention
We believe in “clarity without complexity.” A digitally designed provisional offers a marginal fit that manual techniques simply can’t match. This means less inflammation, faster gingival healing, and a clean, dry field when it’s time for the final seat.
3. Testing the Function
A smile has to work as well as it looks. Digital workflows allow you to test changes in the vertical dimension (VDO) and occlusal scheme before you ever touch the final ceramic. It’s a “test drive” that ensures no surprises down the road.

The 3 Hidden Drains on Your Practice
Traditional “analog” temporaries are rife with hidden costs that cripple a modern practice:
1. The Emergency Bottleneck
Every time a temporary breaks or falls off, it’s an unscheduled emergency. That’s a gap in your schedule that could have been a productive, billable procedure.
- The Digital Fix: Digitally fabricated shells are stronger and fit better, virtually eliminating the “emergency re-cement” appointment.
2. The “Dark Triangle” Trap
Hand-sculpting emergence profiles is incredibly difficult. One slight over-contour and you’re looking at chronic inflammation and tissue recession.
- The Digital Fix: Use the software to design the exact emergence profile you need to support the tissue, ensuring a perfect “blend” with the final restoration.
3. The Chairside Time Sink
Spending 40 minutes trimming and polishing a temporary is an inefficient use of a clinician’s time.
- The Digital Fix: Shift the labor. Design the provisional before the patient even arrives. When they’re prepped, you simply seat the pre-fabricated shell.
Your Step-by-Step Path to Digital Mastery
At The Digitalista, we advocate for a streamlined, “Pre-Prep” workflow. Here is how to make it happen:

Step 1: The Blueprint (Pre-Op Scan)
Always start with a clean scan of the existing arch. If you’re changing the smile, this is where your Digital Wax-Up comes in. This is your desired outcome.
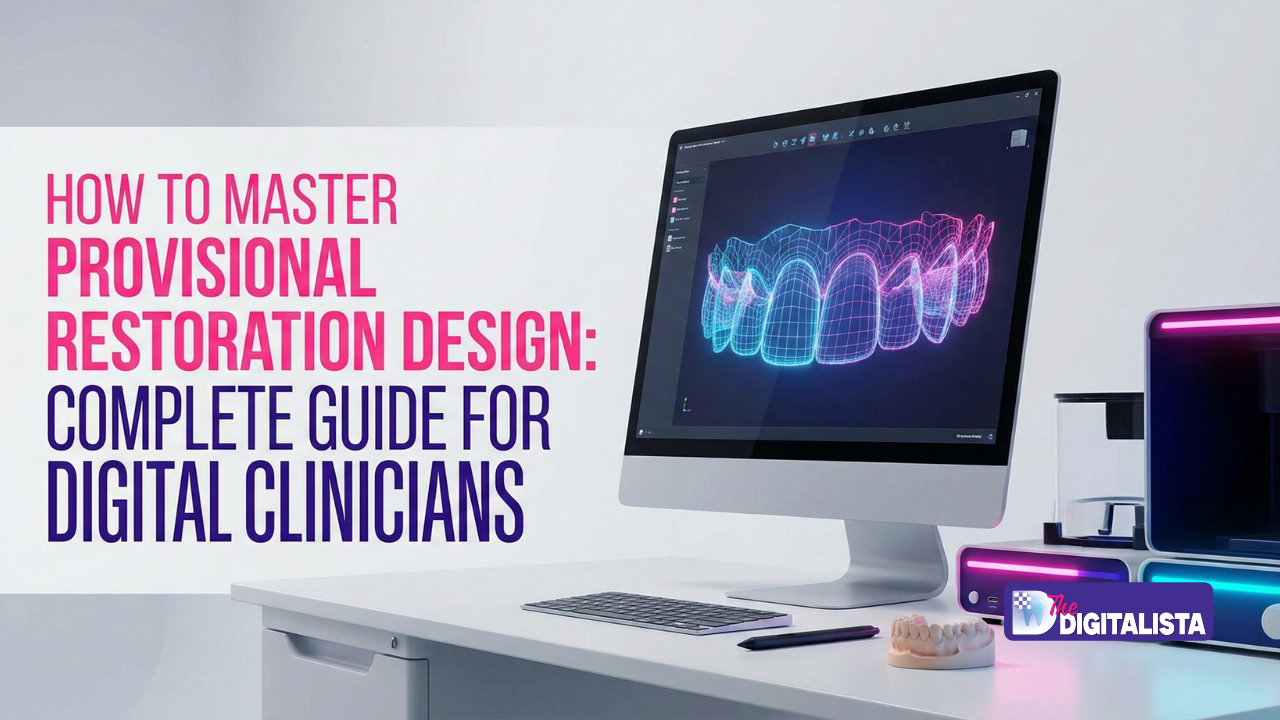
Step 2: The Shell Design
In your CAD software (like Blender for Dental), use the “cutback” tool. The software takes your ideal wax-up and subtracts a precise buffer (usually 50-70 microns) to create a perfectly fitting shell.
Step 3: The Digital Die Spacer
Forget the messy paint. In the digital world, we set a uniform cement space. This ensures the provisional seats with “calm authority”—snug enough to stay, but easy enough to remove.
Step 4: The Fabrication
Whether you choose 3D printing for speed or milled PMMA for long-term strength, the result is a high-fidelity replica of your plan.
Choosing Your Path: Printing vs. Milling
| Feature | 3D Printing (Additive) | Milled PMMA (Subtractive) |
| Speed | Fastest (15 mins per arch) | Moderate (30-45 mins) |
| Strength | Great for up to 6 months | Superior (Ideal for long-term) |
| Best For | Same-day provisionals | Full-arch rehabs |

The “Provisional Success” Checklist
Before you seat that temporary, run through this quick check:
- ☐ Path of Insertion: Is the design “draw-free”?
- ☐ Occlusion: Are the contacts light and balanced?
- ☐ Margins: Are they fully sealed to protect the prep?
- ☐ Aesthetics: Does the shape match the patient’s personality?

Your Next Step Toward Efficiency
The era of manual, compromised temporaries is over. Mastering the digital provisional is what separates a good dentist from a visionary one. It’s about respecting the biology, valuing your time, and delivering the “wow” factor every single time.
Ready to reclaim your chair time?
Join our Digital Provisional Design Masterclass. We’ll show you the exact protocols to go from “software overwhelm” to “same-day success.”
👉 Secure Your Spot in the Masterclass Now
Need a strategy for a complex full-arch case? Book a 1:1 Case Planning Call with Dr. Samira.
