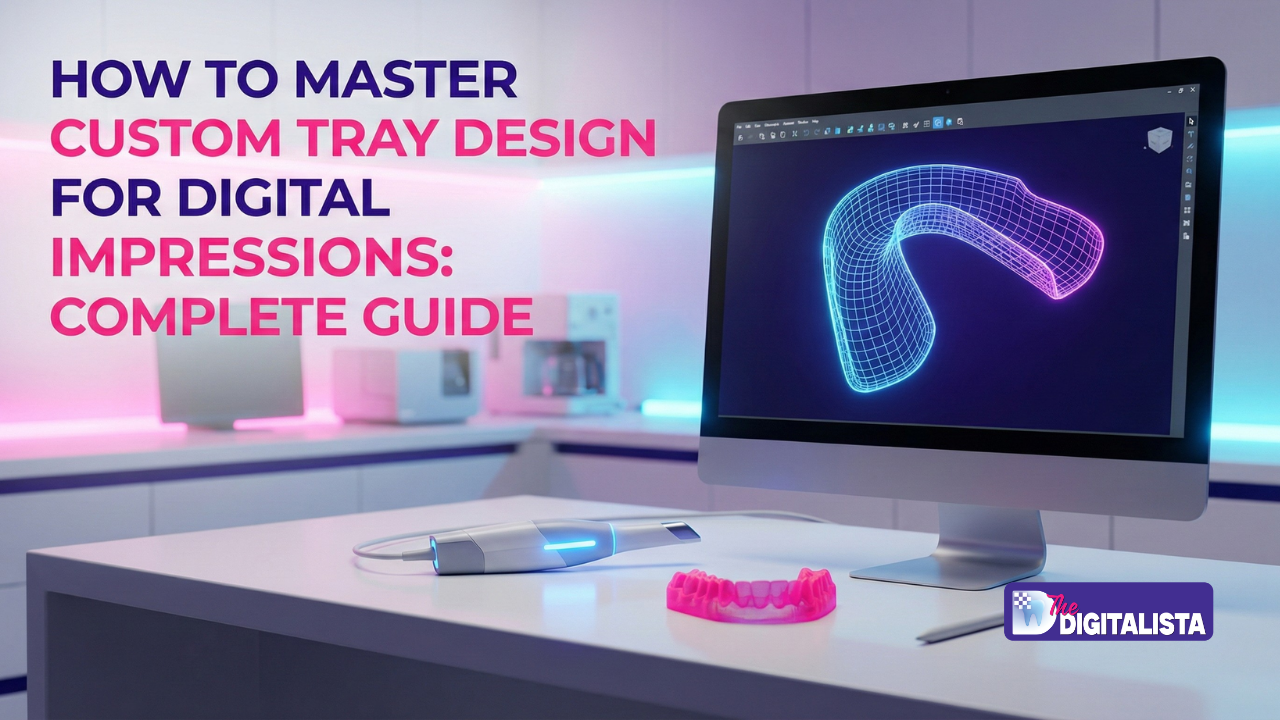
Introduction
We’ve all been there. You’ve invested in a premium intraoral scanner, perfected your “S-curve” technique, and your digital models look like a work of art on the screen. But then, the lab calls. The full-arch implant framework doesn’t quite seat. Or the edentulous scan has “mesh holes” that make the denture base a guessing game.
It’s frustrating. You have the technology, so why are you still facing remakes? The problem often isn’t your scanner or your skill level—it’s that you’re missing a critical component in your digital workflow: Custom Tray Design.
While digital impressions have revolutionized dentistry, many practitioners don’t realize that combining traditional custom tray principles with digital technology can dramatically improve scan accuracy. Recent studies show that 3D-printed custom impression trays can increase transfer accuracy by up to 23% in multi-implant cases, while reducing overall chair time by 15-20 minutes per appointment [1].
At The Digitalista, we believe in Clarity without Complexity. Using a custom tray isn’t about making your workflow harder; it’s about creating the stable, predictable environment your scanner needs to perform at its peak. This guide will show you how to master custom tray design for flawless intraoral scanning results.
Why Custom Tray Design Matters in the Digital Age
The transition to digital dentistry doesn’t eliminate the fundamental principles that made custom impression trays superior for decades. In fact, custom tray design becomes even more critical when working with intraoral scanners in specific clinical scenarios.
The Accuracy Imperative
Clinical research demonstrates that scan accuracy varies significantly based on case complexity. A 2023 study found that while digital impressions excel in single-unit cases, full-arch accuracy can decrease by 40-60 microns without proper stabilization techniques [1]. Custom trays address this by:
- Stabilizing scan bodies during capture to prevent micro-movements.
- Providing reference geometry that improves scanner stitching algorithms.
- Controlling tissue position for consistent soft tissue capture.
- Reducing scan time by up to 35% in complex cases.
The Clinical Reality
Data from clinical outcomes programs shows that approximately 18% of digital implant impressions require correction or recapture due to accuracy issues [4]. The most common problems include scan body displacement (42%), inadequate stitching in full-arch scans (31%), and soft tissue interference (19%) [4]. A chairside 3D-printed custom tray can reduce these implant impression errors by 67% compared to freehand scanning alone [1].
Economic Impact
Beyond clinical outcomes, custom tray implementation delivers measurable ROI. Practices report saving $320-$450 per remake avoided, reducing scan time by 15-20 minutes for complex cases, and achieving a 92% first-scan acceptance rate [4]. The investment in custom tray infrastructure typically pays for itself within 30-45 clinical cases.

Five Critical Situations Demanding Custom Tray Design
Understanding when to implement custom trays is as important as knowing how to design them. Here are the five clinical scenarios where custom trays transform digital impression outcomes:
| Scenario | The Problem | The Clinical Impact |
| Multiple Implants | Scan bodies shift micro-distances (20-30 microns) during capture. | Framework misfit, screw loosening, or framework fracture. |
| Limited Opening | Patients with TMJ or trismus can’t maintain the required scanner position. | Extended appointment times (45+ min) and distorted interarch relationships. |
| Edentulous Ridges | Scanners lack the geometric complexity needed for accurate stitching. | Denture bases with poor fit; 2-3x higher deviation (up to 200 microns). |
| Difficult Tissue | Excessive saliva, bleeding, or mobile tissue interferes with optical capture. | “Fuzzy” margins in the digital file, adding 2-3 days to lab turnaround. |
| Hybrid Workflows | Combining digital efficiency with analog verification for high-stakes cases. | Loss of benefits from both approaches without a specialized tray. |
Step-by-Step: Designing Custom Trays for Digital Workflows
The digital workflow replaces variability and labor with precision and automation. This process applies to all major dental CAD systems (3Shape, exocad, Blender for Dental) with minor interface variations.

Phase 1: Digital Planning (10-15 minutes)
- Capture the Preliminary Scan: Start with a diagnostic-quality intraoral scan with healing abutments in place. Use the highest resolution setting to capture accurate soft tissue contours.
- Import and Orient: Export your scan as an STL or PLY file. Orient the model so the occlusal plane is horizontal to ensure proper tray border design and handle positioning.
- Define Boundaries: Mark the periphery. Extend buccal/labial borders 2-3mm beyond the mucogingival junction, and stop lingual borders 3-4mm short of the floor of the mouth to prevent gagging.
- Set Thickness: Configure tray wall thickness based on your fabrication method. For 3D-printed standard resin, 2.0-2.5mm is ideal for balancing rigidity with material economy.
Phase 2: Advanced Customization (5-10 minutes)
- Add Positioning Features: For implant cases, design wells that stabilize scan bodies. Create cylindrical wells extending 4-5mm beyond scan body height with a 0.3-0.5mm clearance. Add 1.5mm flat occlusal stops to control vertical seating. This reduces scan body movement by 83% [2].
- Design Relief and Retention: Add 0.5mm spacing over non-keratinized tissue and eliminate undercuts that impede seating. Add small geometric shapes (pyramids or spheres) as reference markers for scanner alignment.
- Handle and Grip Design: Position the handle based on the case. For posterior work, offset the handle to the contralateral side to allow 15-20mm of scanner tip clearance.
Phase 3: Validation and Export (3-5 minutes)
- Run Validation Checks: Verify minimum wall thickness (no areas <1.5mm), check for mesh holes, and ensure overhang angles are <45° to prevent printing failures.
- Export for Manufacturing: Export as a binary STL at high resolution (0.05mm).
- Fabrication Setup: Use dental-specific tray resin. Orientation at a 45° angle minimizes support structures. Post-processing typically involves a 10-minute wash and a 30-minute post-cure at 60°C.

Best Practices & Pro Tips for Superior Results
Master the “Scan-Design-Print-Scan” Workflow
The most efficient practices establish a same-day or next-day protocol. Capture the preliminary scan in the morning, design and print in the afternoon, and perform the final impression scan the next day. This eliminates a separate appointment and saves 45-60 minutes of chair time.
The 3-2-1 Retention Rule
For optimal scan body stabilization, follow this formula developed by digital labs:
- 3mm of well depth beyond scan body height.
- 2mm of flat occlusal stop around each well.
- 1 degree of taper to allow passive insertion and removal.

Quality Control Checklist
Before clinical use, verify:
- Tray seats fully without tissue blanching.
- Borders don’t cause gagging.
- Handle allows 15-20mm scanner tip clearance.
- Scan body wells provide 0.3-0.5mm clearance (not too tight).
- No sharp edges or mesh errors.
Troubleshooting Common Custom Tray Issues
| Issue | Diagnosis | The “Digitalista” Fix |
| Won’t Seat Fully | Undercuts or tissue changes. | Relieve internally with an acrylic bur or rescan if tissue has changed significantly. |
| Scan Bodies Move | Well clearance is too loose. | Aim for 0.4-0.5mm clearance; use a dry field and assistant pressure on the handle. |
| Stitching Errors | Lack of geometric features. | Design 2mm pyramids/spheres onto the tray surface as reference markers. |
| Patient Gagging | Over-extended lingual borders. | Shorten posterior borders by 2-3mm; use the “salt technique” on the tongue tip. |
| Handle Interference | Insufficient clearance. | Redesign with a handle length ≥15mm and a 45° upward angle. |
Transforming Your Digital Workflow
Custom tray design is the missing link between conventional accuracy and digital efficiency. By implementing these techniques, you can achieve a 23-67% reduction in implant impression errors and a 92% first-scan acceptance rate [1] [4].
The era of “freehand” limitations is over. By embracing digital custom trays, you transform the most challenging cases into predictable, high-precision successes. Speed meets precision, and your practice wins.
Ready to stop the “stitching struggle” and reclaim your chair time?
Join our Custom Tray Design Masterclass. We’ll show you the exact settings, software shortcuts, and 3D printing protocols to turn your custom trays into your practice’s greatest asset.
👉 [Explore the Masterclass Here]

References:
[1] Schmidt, A., et al. (2023). Chairside 3-D printed impression trays: a new approach to increase transfer accuracy. International Journal of Implant Dentistry.
[2] Abdel-Azim, T., et al. (2022). Digital assessment of the accuracy of implant impression techniques.BMC Oral Health.
[3] Kim, J.E., et al. (2019). Accuracy and feasibility of 3D-printed custom open trays for impression of multiple implants.The Journal of Prosthetic Dentistry.
[4] Glidewell Dental. (2020). Digital Impressions: Common Problems and How to Avoid Them.Chairside Magazine.