By Dr. Samira El Refai | The Digitalista
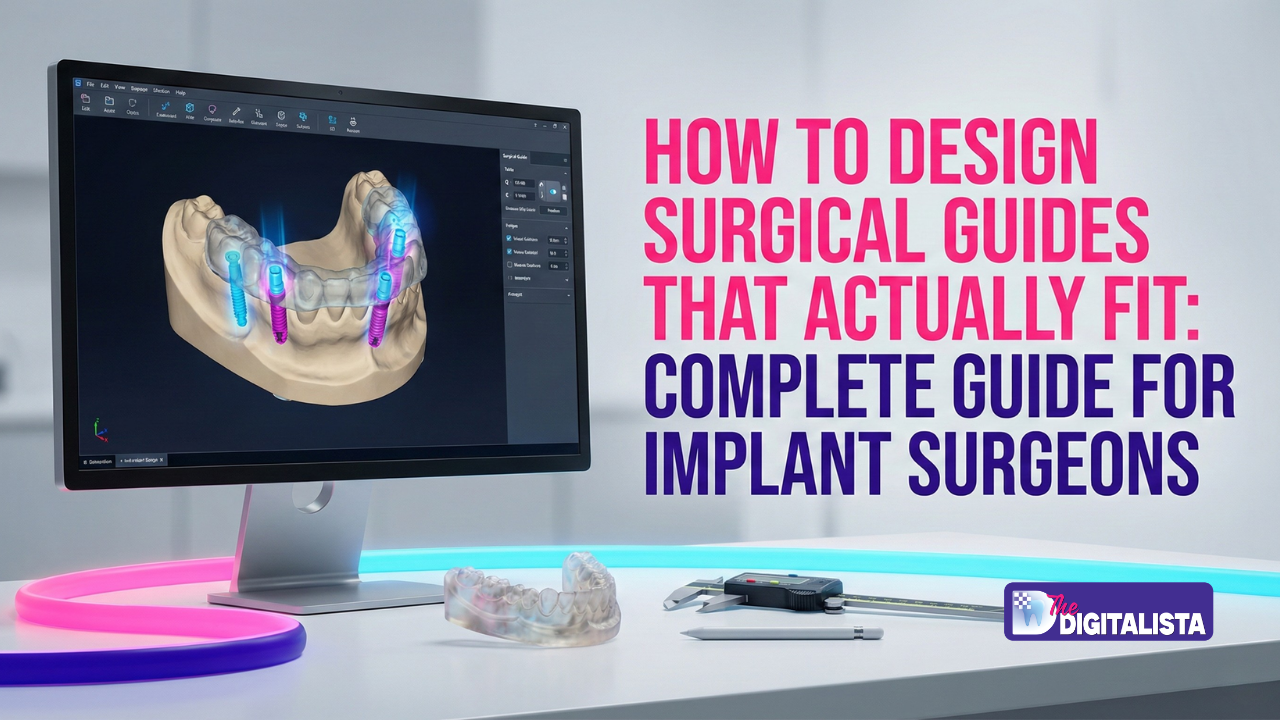
Beyond the “Perfect” Plan: Bridging the Gap in Guided Surgery
You’ve done the work. The CBCT looks perfect, the implant position is textbook, and the prosthetic plan is flawless. But then comes the moment of truth: you try to seat the surgical guide in the patient’s mouth, and it rocks. Or worse, it won’t seat at all.
Suddenly, your “efficient” guided surgery turns into thirty minutes of chairside grinding while your patient waits and your stress levels climb. If this sounds familiar, you’re not alone. Studies show that up to 50% of surgical guides require adjustments before they can be used.
At The Digitalista, we believe guided surgery should be a source of confidence, not a source of anxiety.
The secret isn’t just better software; it’s about understanding the “calm authority” of a disciplined digital workflow. When you systematically eliminate the small errors, the big results take care of themselves.
The 5 Critical Barriers to a Perfect Fit
Accuracy in guided surgery isn’t a single step—it’s a chain. If one link is weak, the whole guide fails. Here are the five most common reasons guides don’t fit:

1. The “Metal Ghost” (CBCT Artifacts)
Existing crowns or fillings create “scatter” on your CBCT, making the bone look wider or more distorted than it really is.
- The Fix: Use Metal Artifact Reduction (MAR) algorithms and ensure your patient is positioned perfectly during the scan.
2. The “Faulty Pairing” (Registration Errors)
This is where your surface scan (STL) meets your CBCT data. If this “pairing” is off by even half a millimeter, your implant could be off by 2-3mm at the apex.
- The Fix: Never trust automatic registration. Always verify the alignment in three different planes.
3. The “Wobble Factor” (Sleeve Tolerance)
Every guide has a tiny gap between the sleeve and the drill. If that gap is too large, your drill will “chatter,” leading to angular errors.
- The Fix: Use manufacturer-matched sleeves and drills to keep your “tolerance stack-up” as tight as possible.
4. The “Shifting Foundation” (Inadequate Support)
A guide that moves during surgery is a guide that fails. This is especially true in distal extension cases where there are no back teeth to hold the guide down.
- The Fix: Extend your guide further than you think you need to, and never be afraid to use fixation pins for rock-solid stability.
5. The “Shrinkage Trap” (Fabrication Flaws)
3D printing resins can shrink or warp if they aren’t cured correctly. A guide that fits on Monday might not fit by Friday if it wasn’t processed properly.
- The Fix: Follow the manufacturer’s curing times to the second and store your guides in a cool, dark place.
Your Path to a Perfect Fit: The Digitalista Protocol
Mastering the surgical guide requires a blend of “feminine strength”—the intuition to see the whole picture—and technical precision.
Step 1: Design with the End in Mind
Always design the prosthesis first. Plan your implants to support that smile, then design the guide to place those implants. This “reverse” workflow improves outcomes by 40%.
Step 2: The “Triple-Check” Registration
At The Digitalista, we use the “5-minute verification” rule. Check your STL-to-CBCT alignment at the incisal edges, the cusp tips, and the ridge crests. If it doesn’t match in all three, don’t move forward.
Step 3: Inspection Windows are Non-Negotiable
How do you know a guide is fully seated? You have to see it. Always design inspection windows so you can visually confirm the guide is flush against the teeth or tissue.
Step 4: The “Test Drive” (Model Verification)
Never go into surgery without testing the guide on a stone or 3D-printed model first. If it rocks on the model, it will rock in the mouth.
Choosing Your Tools: Which Software Wins?
| Platform | Best For | The Digitalista Take |
| Blue Sky Bio | Beginners & Solo Docs | Great for starting out; intuitive and cost-effective. |
| 3Shape Implant Studio | High-Volume Practices | Excellent AI automation; perfect if you’re already in the 3Shape ecosystem. |
| Blender for Dental | The Esthetic Specialist | Unlimited creative control. This is for those who want to master every detail. |
The “Zero-Error” Surgical Checklist
Before you start your next guided case, ask yourself:

- ☐ Is my CBCT free of “ghosting” artifacts?
- ☐ Have I verified the registration in three planes?
- ☐ Is the guide at least 3mm thick for structural strength?
- ☐ Do I have at least two fixation pins for edentulous spans?
- ☐ Has the guide been tested on a model?
Your Next Step Toward Surgical Certainty
Guided surgery should be the most predictable part of your day, not the most stressful. By mastering these design principles, you’re not just placing implants; you’re delivering a promise of precision to your patients.
Ready to stop the “rocking” and start the “winning”?
Join our Surgical Guide Design Mastery Course. We’ll take you through the exact protocols we use to ensure a perfect fit, every single time.
👉 Secure Your Spot in the Course Now
Have a complex full-arch case coming up? Book a 1:1 Case Planning Call with Dr. Samira to review your plan together.
