Beyond the “Good Enough” Abutment: A Clinician’s Guide to Peri-Implant Perfection

Introduction: The Silent Culprit in Peri-Implant Struggles
We’ve all been there. You’ve spent months planning a case, the implant has integrated beautifully, and the patient is excited. But as you try to seat the final restoration, something feels… off. Maybe the tissue blanches more than you’d like. Maybe the “black triangle” you were hoping to avoid is staring back at you. Or worse, a year later, you see that tell-tale shadow of bone loss on the radiograph.
As clinicians, we often blame the implant system or the patient’s hygiene. But the truth is often hidden in the transition zone. The “good enough” stock abutment—the one that’s convenient but generic—is often the silent culprit behind peri-implant struggles. At The Digitalista, we believe in clarity without complexity and confidence without arrogance. You don’t need to settle for “pre-fab” compromises. It’s time to step into the role of a digital sculptor, using tools like Blender to create biological harmony that stock parts simply can’t match.
The Path to Predictable Excellence
Achieving peri-implant perfection requires a systematic approach that moves beyond the limitations of standard components. This guide outlines a comprehensive workflow for designing custom abutments that deliver predictable, aesthetic, and biologically sound results. By taking control of the design process, you can elevate your clinical outcomes and provide your patients with restorations that mimic nature’s blueprint.

The Clinical Heart of the Matter: Why “Custom” Isn’t Just a Luxury
IIn the world of advanced implantology, we aren’t just fitting crowns; we are managing living tissue. The relationship between your restoration, the soft tissue, and the underlying bone is a delicate dance. Consider this: recent research suggests that abutment design is actually a stronger predictor of marginal bone loss than the implant system itself [1]. When we use poorly contoured stock abutments, they often create a “tenting” effect. This doesn’t just look unnatural; it creates an environment where plaque loves to hide and keratinized tissue struggles to attach.
The Three Pillars of Peri-Implant Perfection
To achieve true excellence, we must focus on three interconnected pillars: Aesthetic Predictability, Tissue Harmony, and True Ownership. These pillars form the foundation of a successful custom abutment design, ensuring that every restoration is not only beautiful but also biologically compatible and fully within your clinical control.

By taking control of the design, you gain:
•Aesthetic Predictability: You decide exactly where the papilla sits and how the tissue is supported.
•Biological Harmony: You can shape the profile to prevent cement entrapment—a leading cause of peri-implantitis [2].
•True Ownership: Moving away from expensive, restrictive proprietary software modules gives you the freedom to design without limits.
Mastering the Sculpt: A Step-by-Step Journey in Blender
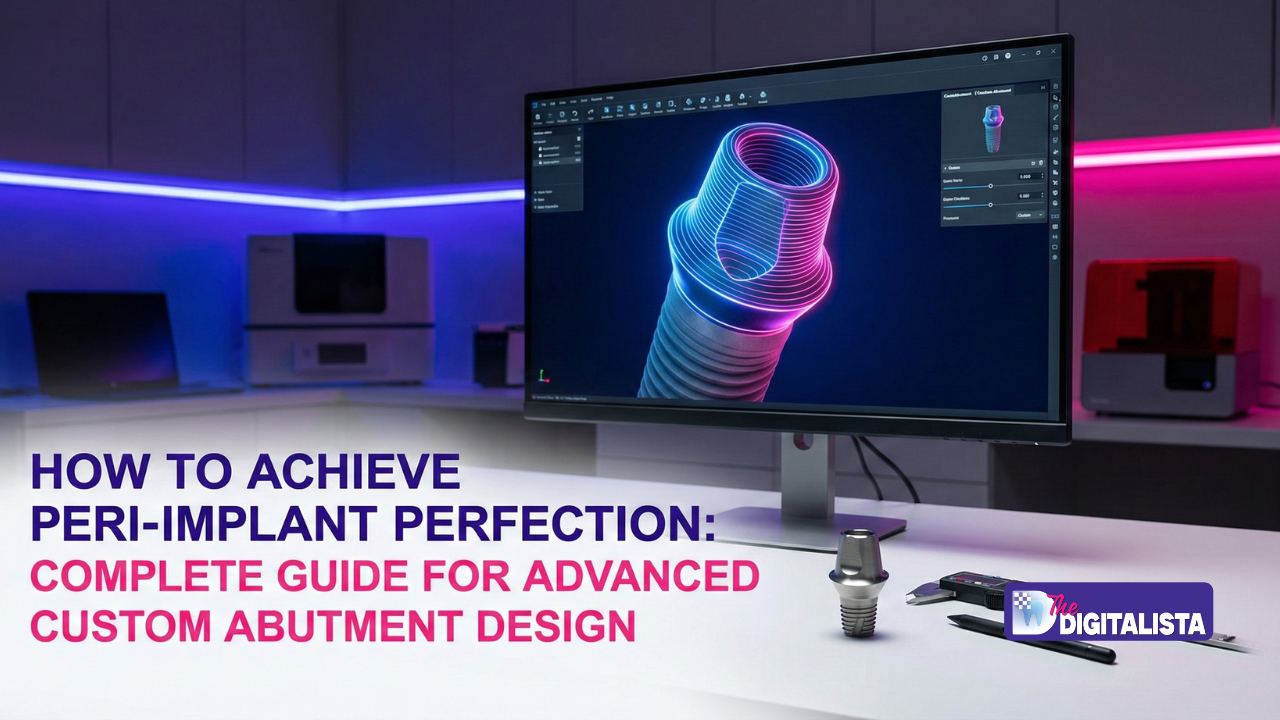
This is where the magic happens. Using Blender—enhanced with dental-specific tools—allows you to treat your digital models like wet plaster. It’s a non-destructive, parametric way of working that feels more like artistry than data entry.
1. Sculpting the Emergence Profile
Instead of picking a profile from a list, you create one that “talks” to the tissue.
•The Technique: Use the soft tissue soon as a “collision object.” As you sculpt the abutment cone, the software ensures you are making gentle, positive contact with the tissue—never over-compressing, never leaving a gap.
•The Result: A biomimetic transition that guides the papilla exactly where it needs to go.

. The Precision Margin
A cleanable margin is the best insurance policy against peri-implantitis.
•The Technique: We use a “Grease Pencil” to draw the margin line directly onto the refined tissue model. We then project this 2D line into a 3D shoulder on the abutment.
•The Result: A uniform, readable shoulder that your milling machine will love and your patient’s tissue will respect.
3. The Angulated Screw Channel (ASC)
Don’t let the implant position dictate your aesthetics.
•The Technique: Blender allows us to “bend” the screw channel path using curve modifiers. You can redirect the exit point to the lingual or palatal aspect without compromising the mechanical strength of the zirconia.
•The Result: A beautiful, screw-retained restoration with no unsightly facial holes.

Pro-Tips for the Digital Clinician
Transitioning to an open-source workflow like Blender requires a shift in mindset. Here are a few “insider” strategies to keep your workflow smooth:
•The “Wet Plaster” Principle: When sculpting in Blender, use low-strength brushes ($0.15 to $0.25). Small, repeated adjustments create a natural result. One powerful stroke usually creates a mess.
•Organize Your “Digital Tray”: Just like in surgery, organization is key. Keep your “Soft Tissue,” “Arch,” and “Abutment Core” in clearly named collections. It saves hours of frustration.
•Template Your Success: Don’t start from scratch every time. Create a “Master Blend” file with your UI layout and favorite implant geometries already loaded.

| Common Mistake | Why It Happens | The Clinical Cost |
|---|---|---|
| Overly Dense Meshes | Too many subdivision modifiers | Slow milling and “crashed” lab software |
| Unapplied Transforms | Forgetting to “set” the scale (Ctrl+A) | The abutment prints at the wrong size |
| Non-Manifold Geometry | Messy “Boolean” operations | The file is unprintable/unmillable |
Your Next Step Toward Perfection
Achieving peri-implant perfection isn’t about having the most expensive software; it’s about having the most control. When you master the art of custom abutment design, you aren’t just a dentist—you’re an architect of oral health.
Ready to take the leap? If you’re tired of the limitations of “standard” CAD and want to master the tools that the world’s elite labs use, join us at The Digitalista.
Explore the Digital Abutment Mastery Course! Learn the exact protocols to sculpt, design, and deliver restorations that your patients—and their tissues—will thank you for.

References & Facts
1.Periodontology 2000 (2024): Undetected cement residue remains a primary trigger for late-stage implant failure.
2.Journal of Prosthetic Dentistry (2023): Abutment design is a stronger predictor of marginal bone loss than the implant system itself.
3.Clinical Implant Dentistry (2024): Anatomically correct custom abutments can reduce peri-implantitis incidence by up to 40% in the anterior zone.