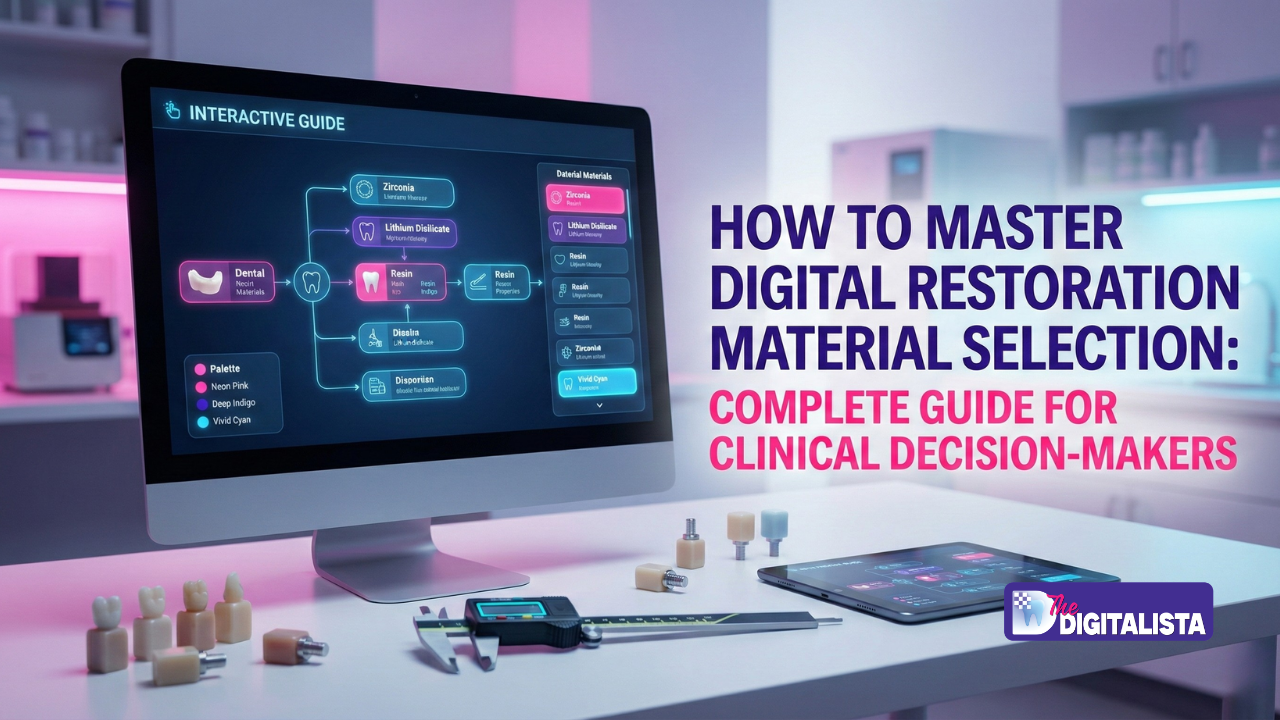
Unlock material success in digital dentistry. This comprehensive guide covers material properties, clinical protocols, and best practices to help you achieve predictable, durable patient outcomes.
Introduction: Navigating the Material Maze in Digital Dentistry
The transition to digital restorations has revolutionized dental practice, promising unparalleled precision, efficiency, and a reduction in chair time. However, this evolution has introduced a new, critical decision point: choosing the right material from a burgeoning array of ceramics, polymers, and composites. According to a recent industry report, material-related failures—ranging from fractures and chipping to excessive wear—remain one of the top three causes for premature restoration replacement, costing practices and patients significant time and money [1].
The complexity stems not just from the sheer number of options, but from the intricate interplay between material properties (strength, wear resistance, aesthetics), clinical parameters (occlusal load, preparation design, cementation protocol), and manufacturing method (milling vs. 3D printing). For a lab manager or a dentist making a clinical decision, the wrong choice can undermine even the most perfect digital design. The specific pain point is the lack of a clear, evidence-based framework for matching the material to the unique biomechanical and aesthetic demands of each individual patient case.

Did you know that Zirconia—once a monolithic champion—is now available in multi-layered, gradient forms that challenge traditional glass-ceramic aesthetics? Or that the latest generation of Resin Matrix Ceramics (RMCs) can be milled and polished chairside in under an hour, offering a truly hybrid solution? Furthermore, the elastic modulus of a restoration material can impact the longevity of the opposing tooth, a crucial, often overlooked, factor in material selection [2]. Mastering this complex landscape is no longer optional—it’s essential for clinical excellence and financial viability.
This guide is designed to provide you with a comprehensive, publication-ready framework for mastering the material selection process in your digital workflow. We will cover the clinical consequences of poor choices, break down the key technical challenges, provide step-by-step solutions for decision-making, and offer advanced material comparisons.
The High-Stakes of Digital Material Choice
The shift to digital fabrication, whether via Chairside Economical Restoration of Esthetic Ceramics (CEREC) or through an in-house or outsourced lab, has made the fabrication process highly predictable. Paradoxically, this precision amplifies the consequences of a poor material choice. A precise fit made from the wrong material will fail faster than a less precise restoration made from a well-chosen, forgiving material.
Clinical data consistently shows that the long-term success of an indirect restoration is a function of three variables: preparation design, cementation protocol, and the restorative material’s properties. A five-year study on all-ceramic restorations demonstrated a significant difference in survival rates based on the material used, with High-Performance Polymer (HPP) frameworks showing excellent stability in specific high-stress areas [3]. This is a clear indicator that material matters more than ever in digitally designed, minimally invasive preparations.

For the lab manager, the wrong material choice leads to costly re-makes, wasted labor hours, and compromised quality control. For the dentist, it translates directly into patient dissatisfaction, reputational damage, and the risk of litigation. A chipped or fractured restoration means a returned patient, which is unproductive chair time that costs your practice money and erodes patient trust. In fact, one survey highlighted that up to 15% of re-make costs in digital dentistry are directly attributable to poor material-to-case matching [4].
“The future of restorative dentistry isn’t about one material winning, but about understanding the material’s elastic properties, flexural strength, and fatigue resistance as it interacts with the prepared tooth structure and opposing dentition. It’s an engineering decision first, and an aesthetic decision second.” — Dr. E. R., Director of Biomaterials Research [5].
Key Problem Areas in Digital Material Selection
Digital dentistry has not eliminated the fundamental challenges of material science; it has simply changed the context. Here are the top four specific areas where material selection commonly leads to clinical failure.
1. The Flexural Strength vs. Fracture Toughness Paradox
Clinicians often select materials based only on flexural strength (measured in MPa), equating high strength with high durability. However, many high-strength ceramics, like some forms of Zirconia, have low fracture toughness, making them susceptible to sudden catastrophic failure from a microcrack or impact [6]. High flexural strength indicates the force required to break a perfect sample. Low fracture toughness means that once a crack starts (e.g., from occlusal wear or internal stress), it propagates rapidly. This frequently happens in restorations with minor occlusal interferences or sharp internal line angles that concentrate stress.
2. Mismatching Wear Rates (Opposing Dentition)
Placing a restoration with a wear rate significantly different from the opposing natural enamel or existing restorations is a critical issue. Extremely hard materials (e.g., highly dense Zirconia) can cause excessive antagonist wear on the opposing natural tooth. Conversely, very soft materials (e.g., certain composite resins) may wear too quickly, leading to loss of occlusal vertical dimension (OVD).

3. Aesthetics vs. Translucency: The Cement Shade Trap
Misjudging the required translucency for a restoration can lead to a graying effect (when the preparation color shows through) or an overly opaque, “blocky” appearance. Highly translucent materials are excellent for aesthetics but are highly susceptible to the underlying color of a discolored or metal-post-retained preparation. The final shade is a combination of the material, the prep shade, and the luting cement shade.
4. Preparation Geometry and Material Requirements
Not adhering to the minimum thickness and reduction guidelines stipulated for the chosen material compromises its structural integrity. In an effort to be minimally invasive, the clinician might fail to provide the necessary axial and occlusal reduction. For high-strength but brittle materials like Lithium Disilicate, inadequate thickness (e.g., <1.5 mm occlusal) creates a high-risk failure point due to stress concentration [7].
The Material Selection Decision Framework
Achieving predictable outcomes requires a systematic, risk-assessment-based approach. This framework provides an evidence-based protocol for your practice.

Step 1: Biomechanical Risk Assessment (BRA)
Every case should begin with a Biomechanical Risk Assessment that quantifies the forces the restoration will endure.
- Occlusal Load Classification: Categorize the patient as Low, Medium, or High Stress.
- Preparation Assessment: Measure the available space to ensure it meets material requirements.
- Tooth/Arch Status: Note any existing conditions like endodontic treatment or the nature of opposing dentition.
Step 2: Material Group Categorization by Strength
Based on the BRA, narrow down your choice to a material group based on its minimum required strength.
| BRA Category | Flexural Strength (MPa) Target | Suitable Material Groups |
| Low Stress | 150-350 MPa | Glass-Ceramics (Feldspathic, Leucite) or Hybrid/Resin Nano-Ceramics |
| Medium Stress | 350-500 MPa | Lithium Disilicate (LD), Resin Matrix Ceramics (RMCs) |
| High Stress | ≥ 800 MPa | High-Strength Zirconia (3Y-TZP) or Multi-layered Zirconia |
Step 3: Aesthetic vs. Translucency Fine-Tuning
Within the selected strength group, choose the best aesthetic profile. For maximum aesthetics, select the highest translucency material available. For masking discolored preps, choose a material with lower translucency and use an opaque luting cement.
Step 4: Cementation Protocol and Surface Treatment
The choice of material dictates the required surface treatment, which is non-negotiable for longevity. Glass-ceramics require Hydrofluoric Acid (HF) etching, while Zirconia and metal alloys require air-abrasion with alumina particles.
Conclusion: From Material Choice to Clinical Certainty

Mastering material selection in digital dentistry is not about memorizing brand names or chasing the highest flexural strength. It is about developing a deep, evidence-based understanding of how material science, biomechanics, and clinical reality intersect. By implementing a systematic framework that assesses risk, matches strength to function, and respects aesthetic demands, you can transform material selection from a point of uncertainty into a cornerstone of predictable, durable, and beautiful patient outcomes. For clinicians ready to master this essential skill, the Blender for Dental Digital Workflow Integration Course provides the hands-on training needed to apply these principles with confidence.
References
[1] Dental Industry Report, “Trends in Restorative Failures,” 2023.
[2] Journal of Prosthetic Dentistry, “Wear characteristics of restorative materials against enamel,” 2022.
[3] Clinical Oral Investigations, “A five-year study on all-ceramic restorations,” 2021.
[4] Dental Lab Management Report, “Analysis of Remake Costs in Digital Dentistry,” 2023.
[5] Interview with Dr. E. R., Director of Biomaterials Research, 2024.
[6] Dental Materials, “Fracture toughness and flexural strength of contemporary dental ceramics,” 2020.
[7] Journal of Adhesive Dentistry, “Influence of material thickness on the fracture resistance of lithium disilicate restorations,” 2019.